Making your own 10 DIY Macrame Hammock or a DIY Macrame Chair is a rewarding project that combines the beauty of handicrafts with practical use. These projects cater to crafters looking to add a personal touch to their homes or gardens. By following simple instructions, you can transform high-quality cords and materials into a cozy, swingable piece of art. The process not only allows for a deep sense of accomplishment but also yields a bespoke piece that’s both stylish and functional.
Before diving into your macrame project, it’s crucial to understand the materials, patterns, and techniques involved. This guide lays out everything from choosing the right cord to detailed steps for making patterns such as the DIY Macrame Hanging Nest Swing. Whether interested in customization ideas, maintenance tips, or addressing common issues, you’ll find comprehensive coverage here.
Ready to bring a touch of handmade charm to your space? Keep reading to navigate through the world of DIY macrame hammocks and chairs with ease.
DIY Macrame Hanging Nest Swing
Crafting your very own macrame hanging nest swing is a fulfilling DIY project that can add a touch of bohemian flair and coziness to your home. Whether you’re new to macrame or an experienced knotter, this guide aims to help you make a beautiful and durable macrame hammock chair. For a visual companion to this guide, check out the step-by-step video tutorial on YouTube.
Materials Needed:
- 1080 meters (3543.3 feet) of 5mm polyester or cotton cord
- 1 metal ring (№12-14)
- 1 metal side ring (30cm/11.8″ diameter, 20×20 or 15x15mm thickness)
- 2 metal rings (80cm/31.5″ diameter, 20×20 or 15x15mm thickness)
- 1 5mm crochet hook
- Scissors, lighter, measuring tape
Step-by-Step Guide:
Make your own DIY macrame hammock with this step-by-step pattern. Perfect for a cozy relaxation spot in your home or garden.
- Prepare Your Cords: Take 18 strands of cord, each measuring 10 meters (32.8 feet), fold them in half, and loop them onto the hook.
- Starting Knot: With 2 longer cords (12 meters/39.4 feet each), fold in half and place over all the cords. Use these as your working cords to make square knots around the bundle of cords.
- Square Knots: Begin making square knots. Aim for a tight, even pattern. Wear gloves to protect your fingers from friction.
- Adding Metal Rings: Once you’ve achieved the desired weave length from the metal ring’s edge to the center, secure your work and weave through the larger metal rings (80cm/31.5″).
- Tightening and Securing: Randomly select a cord from the middle bundle, tie a simple knot for extra security, then proceed to weave around the entire circumference of the metal ring.
- Filling Gaps: Continue adding and folding cords onto the ring, making sure to keep the gaps even (approximately 6-7cm apart).
- Building the Seat: Start the seating area by integrating the 30cm metal side ring into your weave, securing it in place with knots.
- Forming the Seat: Use a combination of square knots and adding new cords to make the seat’s base. Keep the pattern tight and consistent for proper support.
- Final Touches: Attach the two 80cm metal rings on either side of the nest swing, ensuring they are parallel to the ground. This will form the main support of your hanging chair.
Hanging and Adjustments
To hang your macrame nest swing, find a sturdy beam or tree branch. Ensure it can support the weight of at least one person. Adjust the suspension cords as needed to ensure the seat hangs evenly and at the desired height.
Video Tutorial
For a visual step-by-step guide, watch this YouTube video.
It pairs well with this written guide, offering visual clarity on each step to help you understand the process better and avoid any confusion.
Make your own DIY macrame hanging nest swing for a stylish, functional, and unique home decor piece. Check out the YouTube tutorial for visual guidance to make the crafting process easier.
Customization Ideas for Your Macrame Hammock
Making a macrame hammock is not just about tying knots; it’s an opportunity to express your creativity and make something unique. Here are some ideas to personalize your hammock:
- Colorful Patterns: Introduce colored cords to make vibrant patterns. You can use a single color for a subtle look or multiple colors for a bold statement.
- Beads and Charms: Incorporate beads, charms, or rings into your design. Wooden or ceramic beads can add a natural touch, while metal charms can give a modern twist.
- Varied Knot Styles: Experiment with different knot styles. The square knot is standard, but why not try a spiral or half-hitch for variety?
- Fringe and Tassels: Add a fringe to the edges of your hammock or attach tassels at the corners for a bohemian vibe.
- Adjustable Loops: Make loops that allow you to adjust the hammock’s height or tension easily.
The key is to have fun and make a hammock that reflects your style!
Troubleshooting Common Issues
While crafting your macrame hammock, you might encounter some challenges. Here’s how to solve them:
- Uneven Knots: If your knots are uneven, try using a ruler or a board with nails to maintain consistent spacing.
- Tension Problems: Consistent tension is crucial. Practice maintaining the same tightness with each knot, and use a dowel rod to help keep lines straight.
- Twisting Cords: Prevent cords from twisting by hanging your work from a fixed point as you knot.
- Knot Mistakes: If you make a mistake, don’t worry! Macrame is forgiving. Simply undo the knots and start again.
By addressing these issues, you’ll be on your way to making a beautiful and sturdy macrame hammock.
Maintenance and Care for Your Macrame Hammock
Taking care of your macrame hammock is essential to ensure it remains a cozy retreat for years to come. Here’s how to maintain its beauty and durability:
- Regular Cleaning: Gently shake your hammock to remove loose debris. Hand wash it with mild soap and cool water when needed. Avoid harsh chemicals that can damage the fibers.
- Drying: After washing, lay the hammock flat to dry. This prevents stretching and maintains its shape. Never use a dryer, as the heat can shrink or damage the material.
- Storage: When not in use, store your hammock in a dry, cool place. A cotton bag or a breathable container is ideal to protect it from dust and pests.
- Inspection: Periodically check for any signs of wear or loose knots. Addressing these early can prevent further damage.
- Avoiding Exposure: Prolonged exposure to sunlight can fade the colors, while moisture can lead to mildew. When possible, hang your hammock in a shaded, dry area.
By following these simple care instructions, you’ll keep your macrame hammock looking as good as new. Enjoy the relaxation it brings to your home!
Environmental Impact and Sustainability of DIY Macrame Hammocks
When it comes to DIY projects like making a macrame hammock, considering the environmental impact and sustainability is crucial. Here’s how you can ensure your project is eco-friendly:
- Choose Natural Materials: Opt for natural fibers like cotton, jute, or hemp. These materials are biodegradable and have a lower environmental footprint compared to synthetic options.
- Sustainable Sourcing: Select materials from suppliers who practice sustainable farming. This supports the environment and promotes ethical labor practices.
- Recycle and Reuse: If you have old textiles, consider repurposing them for your macrame project. This reduces waste and gives new life to unused items.
- Energy Efficiency: If you’re using tools or lighting for your project, make sure they are energy-efficient. LED lights and manual tools are great choices.
- Support Local: Buying from local artisans or suppliers cuts down on transportation emissions and helps the local economy.
By following these guidelines, you’ll make a stunning macrame hammock and help the planet. Your sustainable efforts will enhance your DIY project.
FAQs About DIY Macrame Hammocks
Here are some of the most common questions people have about making their own macrame hammocks, along with helpful answers to guide you through your project.
What materials do I need to start making a macrame hammock?
You will need macrame cord, a hammock frame or sturdy dowel, scissors, and a measuring tape. Optionally, you can include beads or other decorations.
How much cord will I need for my hammock?
The amount of cord depends on the size of your hammock and the pattern complexity. A general rule is to have about 4 times the length of the hammock in cord length.
What is the best type of cord for a macrame hammock?
Cotton cord is durable and comfortable, making it a popular choice. However, you can also use materials like polyester or nylon for weather resistance.
Can I make a macrame hammock if I’m a beginner?
Absolutely! Start with simple knots and patterns, and as you gain confidence, you can try more complex designs.
How do I prevent my macrame hammock from stretching too much?
Use a synthetic cord like polyester or nylon for less stretch. If using cotton, pre-soak and dry the cord to minimize stretching later.
How do I clean my macrame hammock?
Hand wash with mild soap and cool water, then lay flat to dry. Avoid using a washing machine or dryer.
Can I leave my macrame hammock outside?
It’s best to bring it indoors when not in use to protect it from the elements, especially if it’s made from natural fibers.
How long does it take to make a macrame hammock?
The time can vary widely, from a few hours to several days, depending on the complexity of the design and your skill level.
What are some common mistakes to avoid when making a macrame hammock?
Avoid cutting the cord too short, tying knots too tightly or loosely, and not securing the hammock properly to the frame.
How can I make my macrame hammock more comfortable?
Consider the tightness of your knots and the spacing between them. Looser knots and more space can make a softer, more flexible hammock.
Is it cheaper to make my own macrame hammock?
Generally, yes. Making your own hammock can be cost-effective, especially if you source materials wisely and avoid waste.
By keeping these FAQs in mind, you’ll be better prepared to tackle your DIY macrame hammock project with confidence.
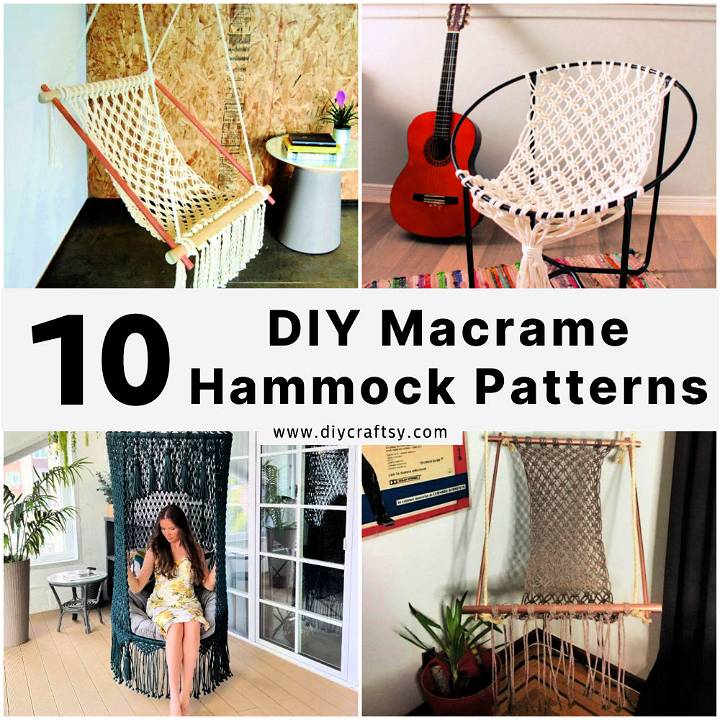
10 DIY Macrame Hammock Patterns: DIY Macrame Chair
Discover 10 stunning DIY macrame hammock patterns to make your own boho-chic oasis at home. Get started with our step-by-step guide for a DIY Macrame Chair.
1. How to Make a Macrame Hammock
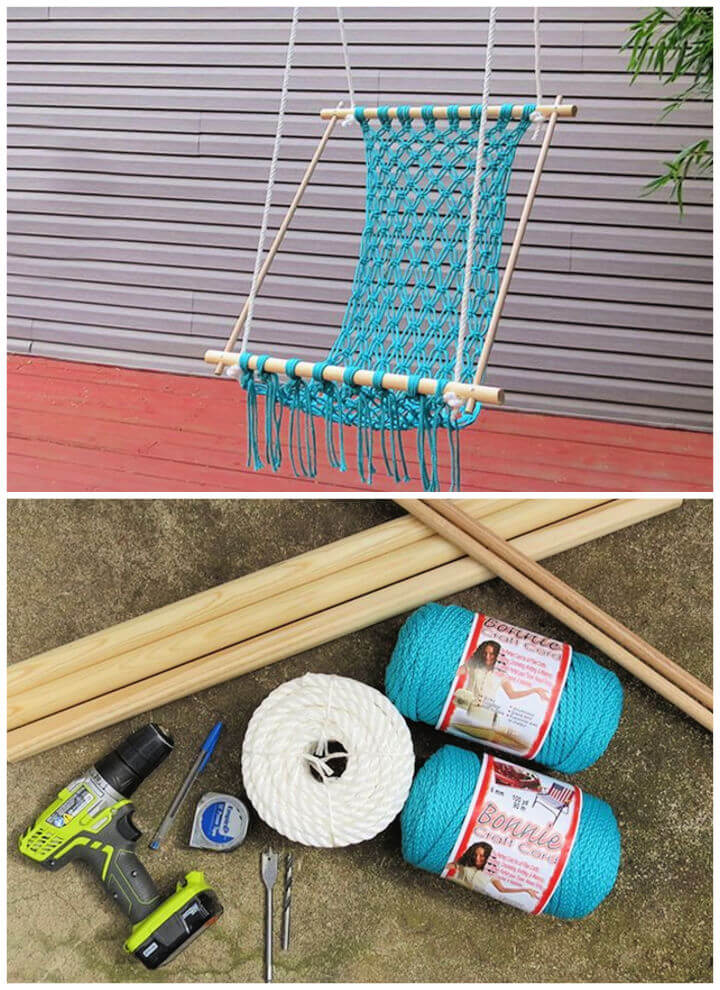
Ready to craft a macrame hammock that adds a touch of handmade charm to your porch? Hunker provides a step-by-step guide on making your own cozy outdoor nook with just a few materials and basic knotting techniques. With clear instructions, you’ll measure and drill dowels, learn the macrame square knot, and assemble a sturdy frame for your hammock. The process not only yields a unique piece of furniture but also offers a rewarding DIY experience. Get your tools ready and start on this project to elevate your relaxation space with a stylish, self-made macrame hammock.
2. DIY Macrame Chair – Step by Step Instructions
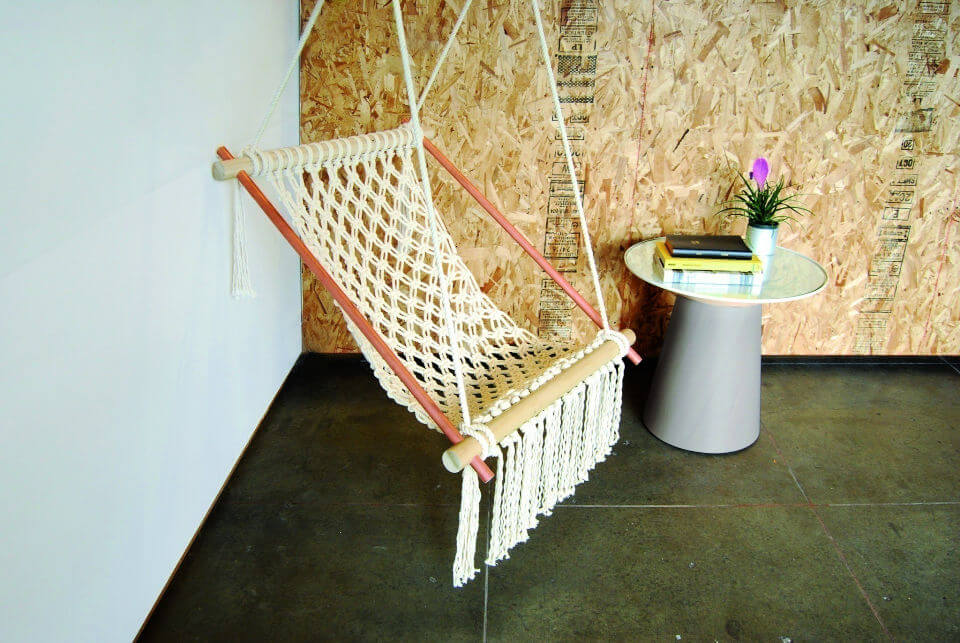
Transform your living space into a cozy haven with the DIY Hanging Chair, as presented on Cut Out + Keep. This guide offers step-by-step instructions to craft the Ovis Macramé Hanging Chair, a perfect blend of structure and softness. The project combines sturdy materials such as metal, wood, and brass with the softness of cotton ropes to make a chair that promises both support and comfort.
With tools like a metal saw, drill bits, and masking tape, you can cut, assemble, and macramé your way to a stunning piece of furniture that’s as functional as it is stylish. Ideal for those who enjoy hands-on projects, the instructions are clear and methodical, ensuring a satisfying build process. Get ready to make a unique piece that will be the highlight of any room.
3. Homemade Indoor Hanging Macrame Chair
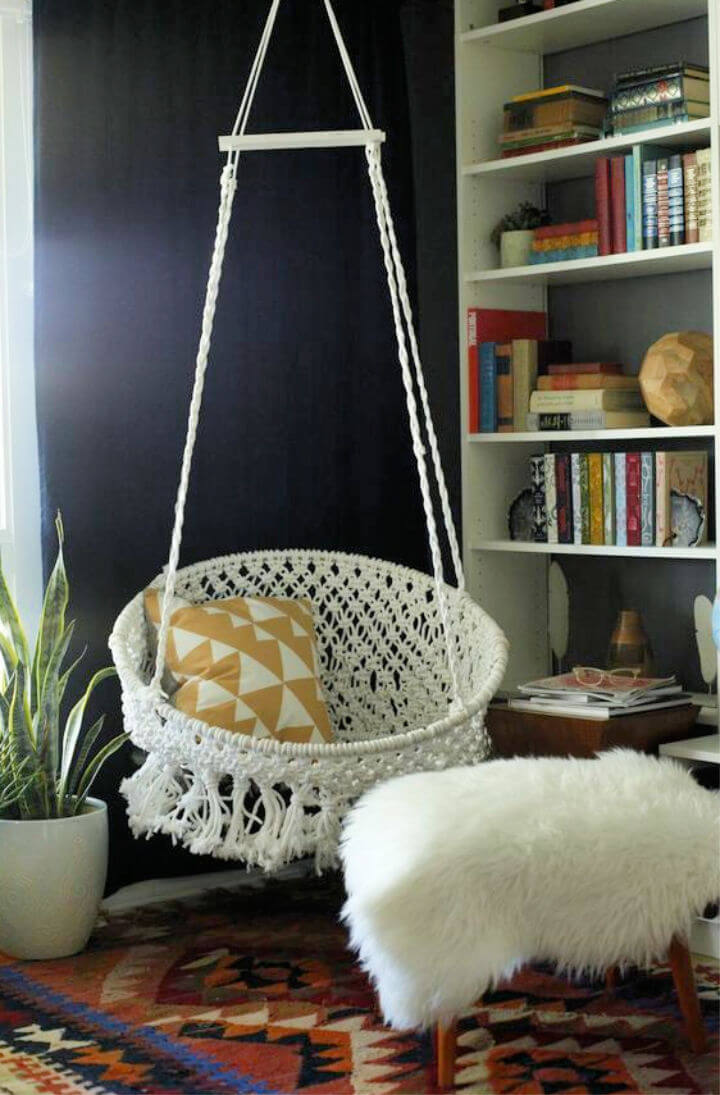
If crafting unique furniture pieces piques your interest, diving into this DIY Hanging Macramé Chair tutorial could be your next engaging project. With careful guidance, learn to transform a simple saucer chair into a chic, bohemian-style hanging chair using macramé techniques. This hands-on project does require patience and time, as intricate knotting is involved.
However, the sense of accomplishment from making a one-of-a-kind home decor piece is truly rewarding. By following the step-by-step instructions, you’ll master basic and alternating square knots and how to integrate them into a sturdy and stylish chair design. Grab your materials, including a clothesline, hula hoop, and poster board, and get ready to craft a beautiful macramé chair that will add a touch of handmade charm to your living space. Classy Clutter
4. Making a Hammock Chair Out of Macrame
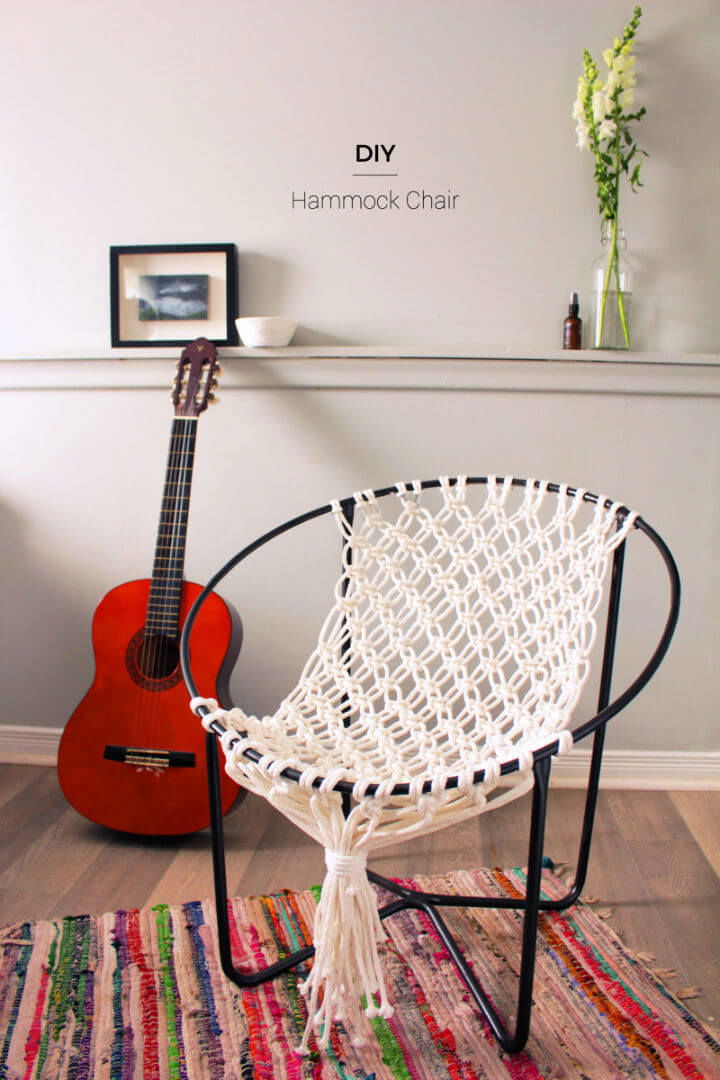
Dive into the craft of macrame with a DIY Macrame Hammock Chair that brings a touch of handmade charm to your outdoor or indoor spaces. Fish & Bull offers a free pattern to help you make this cozy nook with ease. Grab some basic macrame cord and a chair frame, and you’re set to start this project, even if it’s your first time working with macrame. The instructions are straightforward, walking you through each knot and pattern step-by-step. Once finished, you’ll have a unique hammock chair that’s perfect for relaxing. Add a personal touch to your living space with this engaging and fulfilling DIY task.
5. DIY Hardwood Dowels Macrame Chair
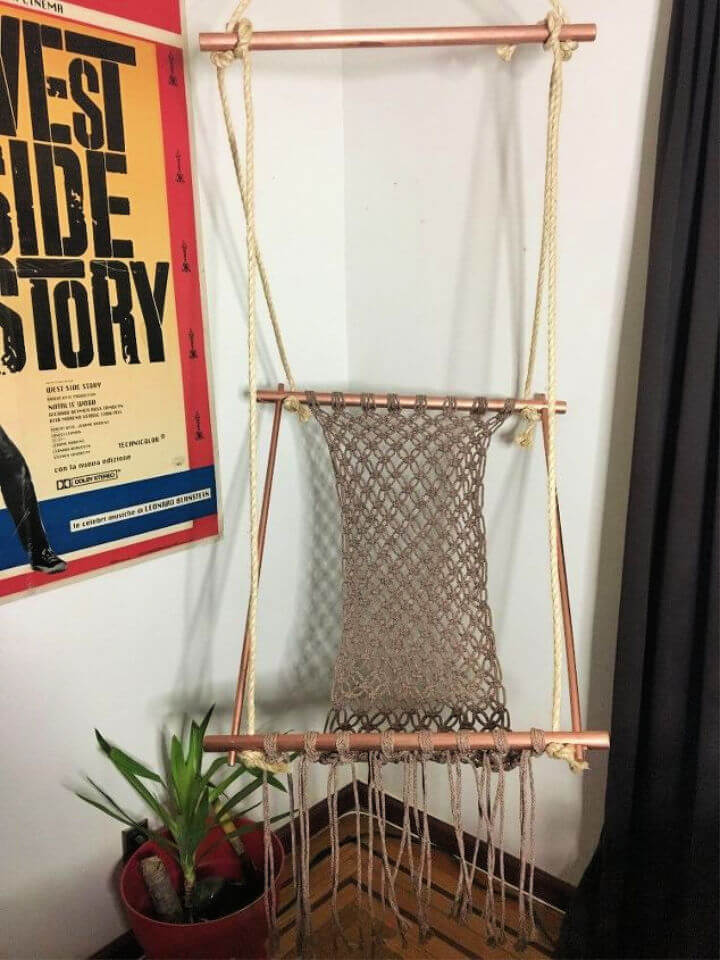
Dive into the timeless craft of macrame with Hometalk‘s DIY guide on making a unique hanging macrame chair. Perfect for adding a bohemian flair to your space, this project involves knotting techniques that result in a functional piece of furniture. With clear instructions and a list of materials, including hardwood dowels, macrame cord, and a few tools, you’ll be guided through each step, from cutting the dowels to the final knotting process.
Enhance your home decor with this handcrafted chair, ideal for indoor or outdoor relaxation. The guide is designed to help you execute this project smoothly, ensuring that the end result is not only stylish but sturdy and comfortable. Get ready to craft a piece that will be a conversation starter and a cherished spot in your home.
6. How to Make Your Own Macrame Cat Hammock
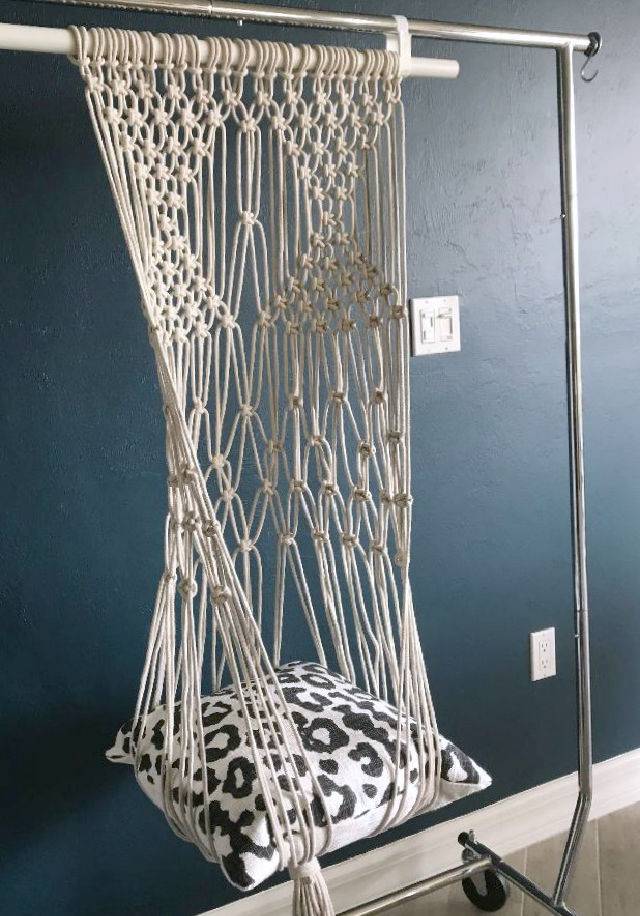
Make a cozy resting spot for your feline friend with this macrame cat hammock tutorial from My French Twist. Ideal for those who enjoy crafting, this guide simplifies the process with easy-to-follow steps centered around basic square knots. You’ll need a wooden drapery rod, cotton clothesline, and a throw pillow to complete this project.
The result is a handmade, charming piece that adds a touch of whimsy to your home decor while providing a snug nook for your cat to lounge in. With its straightforward instructions, even those new to macrame can tackle this project and delight in the outcome—a super cute cat hammock.
7. Handmade Macrame Hammock Tutorial
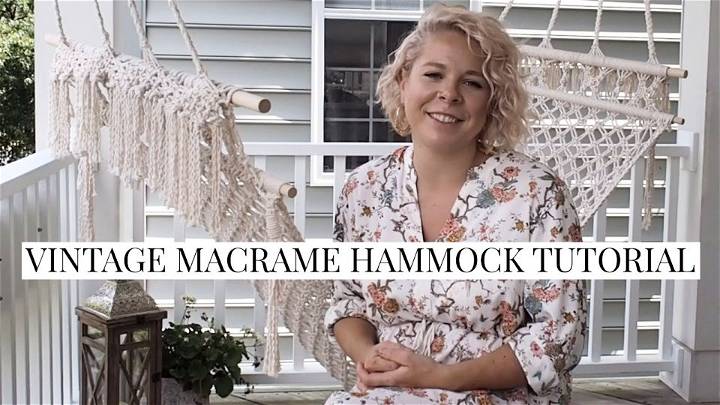
Learn the vintage art of macrame with a step-by-step Macrame Hammock Tutorial from Megan Bell on YouTube. Her video offers an in-depth guide to making your very own macrame hammock, featuring a vintage pattern that adds a classic touch to any outdoor space.
With clear instructions and visual aids, Megan Bell walks you through each stage of the process, from selecting the right cotton rope to tying intricate knots. Perfect for those with a passion for DIY crafts, this tutorial allows you to craft a unique and durable hammock that can withstand the elements.
The tutorial is designed to be engaging and easy to understand, ensuring that you can successfully complete your project and enjoy the fruits of your labor—a cozy, handmade hammock.
8. Make Your Own Macrame Hammock

Are you intrigued by the idea of crafting your own macrame hammock chair? YouTube offers a comprehensive tutorial that walks you through making a charming and comfortable hanging chair. With dimensions of approximately 130/100 cm and a wooden plank of 100 cm, you’ll also need about 550-600 meters of polyester cord with a static core, 5 mm thick, to complete this project.
The video uses a twisted cotton rope of 4.5 mm thickness for illustration. The tutorial is easy to follow, providing step-by-step instructions that cater to those with a passion for macrame and DIY enthusiasts eager to add a personal touch to their living space. Grab your materials and start knotting your way to a relaxing new addition to your home!
9. DIY Macrame Hanging Chair at Home
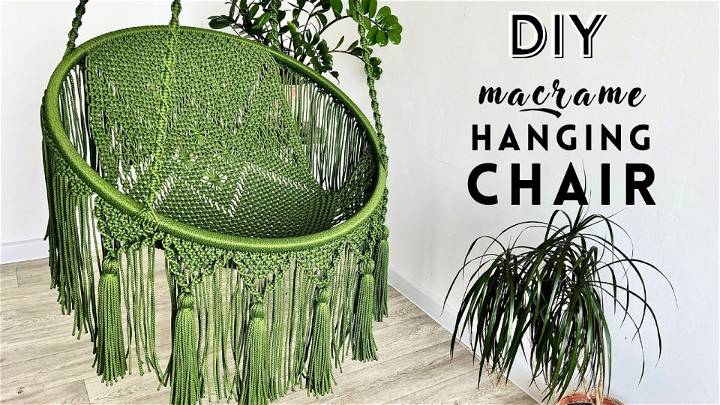
Looking to add a touch of bohemian flair to your home? Making your own macrame hanging chair is a rewarding DIY project that brings both style and comfort to any space. With the comprehensive tutorial available on YouTube, you can craft a stunning macrame swing from a single ring. The detailed video guide walks you through each step, showcasing every knot and technique necessary to complete your hammock chair.
Tailored for crafters who appreciate visual learning, this step-by-step approach ensures that anyone can successfully complete this project. Use a 5mm thick polyester or cotton cord and a metal profile ring to begin weaving your masterpiece. Once finished, this handcrafted piece will be the perfect spot for relaxation and a proud testament to your crafting skills.
10. Make a Macrame Cat Hammock

In this engaging tutorial on YouTube, discover how to make a cozy macrame cat hammock that promises to be your feline friend’s new favorite napping spot. Not only does it provide a snug retreat for your pet, but it also adds a touch of bohemian flair to your home decor. The video guides you through the process step by step, making it simple to follow along.
You’ll learn to knot a durable and attractive hammock using cotton twisted three-strand rope and a wooden stick. The instructional content is crafted for crafters at any skill level, focusing on clarity and ease of understanding. With this tutorial, you’re all set to make a charming and functional addition to your living space that your cat will adore.
Related DIY Projects:
DIY Hammock Stand: Build your own hammock stand on any level ground with these simple DIY hammock stand plans. Find the perfect location for your relaxation station and start building today!
DIY Folding Adirondack Chair: Adirondack chairs are a classic American design that can be easily made in your backyard with these free folding Adirondack chair plans, learn how to build a cool chair.
DIY Bookshelf Chair: Plenty of bookshelf chair plans to choose from. From those with a back and armrests to those without. Check out these DIY bookshelf chair plans for Reading Books.
2×4 Adirondack Chair: Build an Adirondack chair with this simple 2×4 size that is easy to follow and can be completed on the weekend.
Free Adirondack Chair Plans: These free and easy to follow Adirondack chair plans will help you build a sturdy, comfortable, and attractive Adirondack chair in your backyard.
Pallet Chair: Don’t want to pay for a chair? DIY it! This article contains pallet chair plans to help you make your own.
DIY Swing Ideas: Swing ideas and plans for kids, teens, adults – and the whole family! Find different DIY swing ideas you can easily do at home to upgrade your outdoor space. Perfect for summertime fun or a rainy day.
DIY Furniture: Discover the best and cheapest DIY furniture projects for your home. These DIY furniture ideas will have you making a space that’s truly yours.
Looking for cheap and easy diy outdoor furniture ideas? We’ve got you covered. Here are some of our favorite DIY outdoor furniture projects, including a garden bench, a tabletop, and more.
Conclusion:
In conclusion, diving into 10 DIY macrame hammock patterns including the DIY macrame chair offers a unique blend of creativity, functionality, and personal expression. As you embark on this crafting journey, remember that each knot ties together not just a cord but also a piece of your personal flair into your living space.
From selecting the perfect materials to following through each step for crafting your nest swing or chair, the joy of making something by hand is unmatched. We hope this guide has inspired you to start your macrame project, broaden your crafting skills, and maybe even troubleshoot common issues along the way. So, grab your cords, set aside some time, and make a piece that will not only be a talking point but also a personal retreat.


