Making a stencil at home might seem like a daunting task, but it’s a rewarding DIY project that allows for endless creativity. Discover 25 creative ideas to make DIY stencils easily at home for your next project. This beginner-friendly guide will walk you through the essentials, from preparing your design to applying the finishing touches, making the process straightforward and enjoyable.
In this guide, we’ll cover everything you need to know, including the materials required, step-by-step instructions for tracing and cutting your stencil, design tips to ensure effectiveness, and advanced techniques for more ambitious projects. Whether you’re interested in adding a personal touch to your home decor or making unique art pieces, following these instructions will help you achieve perfect results.
Stay with us as we delve into the creative world of stencil making and learn how to craft beautiful and functional stencils right from the comfort of your home.
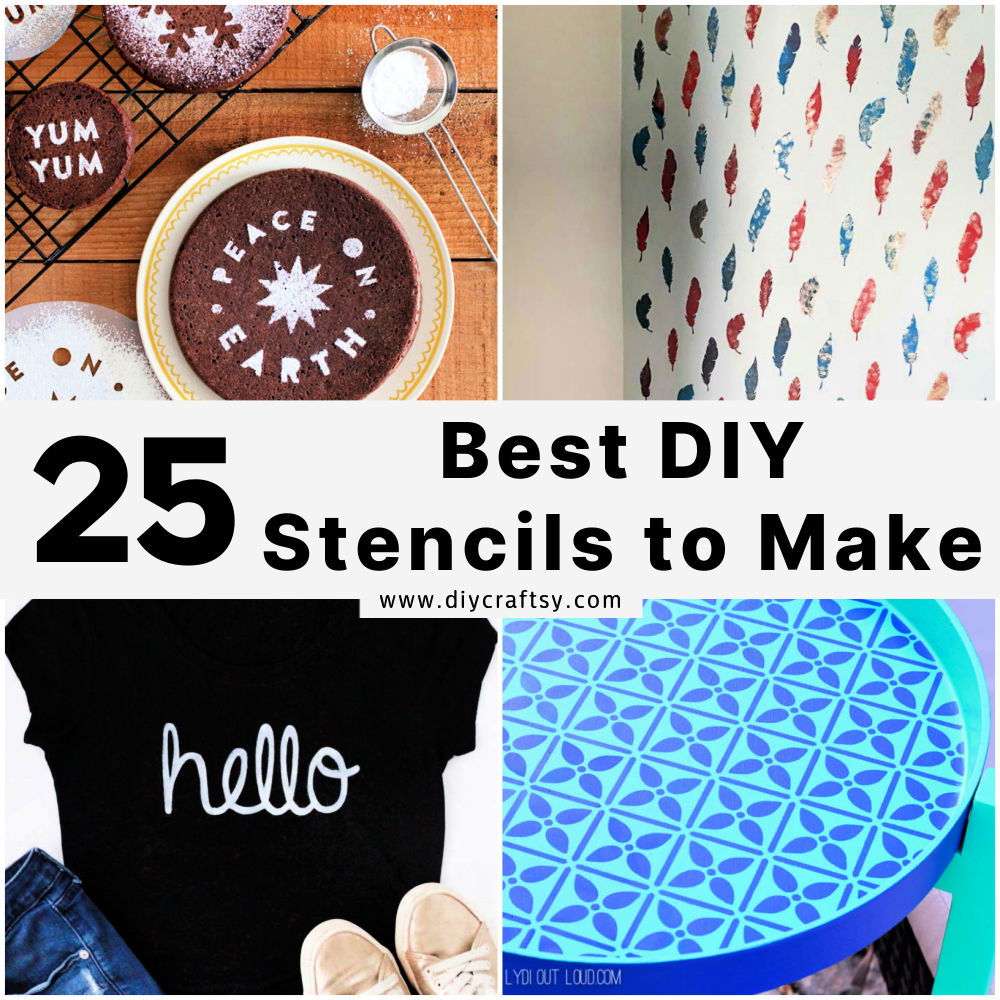
How to Make a Stencil – Step by Step Guide
Creating your own stencil is a fun project that adds personal touch to crafts, home décor, and more. Learn to make one without expensive machines for walls, tiles, or custom signs. Perfect for single or multiple projects.
What You’ll Need:
Before you start, gather these few basic supplies:
- Design: Choose any design you love. You can print one from your computer, draw it, or repurpose an image from a magazine.
- Stencil Material: A clear piece of plastic, ideally Mylar, is recommended. Mylar is available in various thicknesses and sizes, commonly 12×12 inches, perfect for reusable stencils.
- Craft Knife or X-Acto Knife: Crucial for cutting out your design accurately.
- Cutting Mat: Protects your work surface and helps achieve precise cuts.
- Painters Tape: To keep your design in place while you work.
- Marker (Optional): Helpful for tracing your design onto the plastic before cutting, especially for intricate designs.
Step-by-Step Guide:
Learn how to make a stencil with our easy step-by-step guide below:
Preparing Your Design
- Secure Your Design: Place your chosen design underneath the stencil material. Use painters tape to secure the design to the back of the plastic, ensuring it doesn’t move during cutting.
Tracing and Cutting Your Stencil
- Trace the Design (Optional): For intricate designs, trace over your design with a marker onto the plastic. This step can help ensure accuracy before you start cutting.
- Cut Out the Design: Carefully use your craft knife to cut along the traced lines. If the design is simple, you might choose to cut directly without tracing first. Ensure your blade is sharp for clean cuts, and don’t rush the process.
Finishing Touches
- Remove the Design: Once cut, peel away the tape and lift your stencil from the plastic sheet. Check for any rough edges or areas that might need a little more cutting for smoothness.
- Cleanup: If necessary, go back with your craft knife to clean up any imperfections in your stencil.
Tips for a Perfect DIY Stencil
- Choose the Right Material: While you can use cardstock or cardboard, plastic like Mylar offers clean, crisp lines and is reusable.
- Stay Patient: Take your time, especially with intricate designs, to ensure accuracy.
- Keep It Sharp: Ensure your craft knife has a sharp blade for smoother cutting and better end results.
Using Your Stencil
Now that you have your stencil ready, you’re set to start your DIY project. Remember, successful stenciling is all about technique – from ensuring proper adhesion to the surface to the amount of paint you use. For detailed techniques on using your new stencil, consider exploring additional resources or tutorials.
Video Tutorial
For a step-by-step video tutorial on making a DIY stencil, watch this helpful guide on YouTube.
Design Tips for Making Effective Stencils
Designing a stencil involves more than just choosing an image. It requires an understanding of how shapes and spaces work together to make a clear and impactful design. Here are some tips to help you design stencils that are both beautiful and functional.
Understanding Negative Space
- Negative Space: This is the area around and between the subject of an image. In stencil design, it’s crucial as it defines the image once the paint is applied.
- Balance: Aim for a balance between the negative space and the positive image. Too much detail can make the stencil fragile and difficult to use.
Incorporating Text and Images
- Font Choice: If your stencil includes text, choose fonts that are bold and simple. Thin, script fonts are harder to cut and may not be legible.
- Image Simplification: Simplify images to their most basic forms. Complex images can be broken down into simpler shapes that are easier to stencil.
Making Symmetry and Patterns
- Symmetry: Symmetrical designs are pleasing to the eye and can be easier to align during the stenciling process.
- Patterns: Repeating patterns can add texture and depth to your design. Consider how the pattern will look when repeated across a larger area.
Tips for a Successful Design
- Start Simple: Begin with simple shapes and designs. As you become more comfortable, you can add complexity.
- Test Your Design: Cut a small test stencil and apply it to see how the design translates from paper to the painted surface.
- Keep It Sturdy: Ensure that all parts of the stencil are connected and supported to prevent breakage.
Advanced Stencil Techniques and Applications
When it comes to stenciling, mastering the basics can lead to exploring more advanced techniques that can add depth and complexity to your designs. Here’s how you can elevate your stencil art with some advanced methods.
Multi-Layered Stencils
- Making Depth: Use multiple stencils to add layers of color and detail to your design. Start with the background elements and gradually work towards the foreground.
- Alignment: Ensure each layer is properly aligned before applying paint. Use registration marks to guide you.
Gradient Effects
- Blending Colors: Apply two or more colors side by side and use a sponge to blend them together, making a smooth transition.
- Directional Gradients: Decide the direction of your gradient effect—horizontal, vertical, or radial—and blend accordingly.
Textured Effects
- Stencil Brushes: Use stencil brushes to make a textured look. Dab or swirl the brush over the stencil for different effects.
- Thick Mediums: Experiment with thick mediums like modeling paste through the stencil for a raised, 3D effect.
Application on Different Surfaces
- Fabric: Use fabric-specific paints and apply them with a light dabbing motion to avoid bleeding.
- Wood: For wood surfaces, sand the area first, then apply a base coat before stenciling.
- Walls: When working on walls, use a level to keep your design straight and even.
Maintenance Tips
- Immediate Cleaning: Clean your stencils immediately after use to prevent paint from drying and clogging the design.
- Proper Storage: Store stencils flat or rolled in a tube to avoid damage.
Maintaining and Storing Your Stencils
Proper maintenance and storage of your stencils are essential to ensure their longevity and reusability. Here’s a guide to help you take care of your stencils effectively.
Cleaning Your Stencils
- Immediate Washing: After using your stencil, wash it immediately. This prevents paint from drying and becoming difficult to remove.
- Soapy Water: Use warm soapy water to clean your stencils. For plastic or Mylar stencils, a gentle scrub with a soft sponge can remove paint residue.
- Pat Dry: Once washed, pat your stencils dry with a soft cloth to avoid damaging them.
Storing Your Stencils
- Flat Storage: Store stencils flat whenever possible. This helps prevent them from bending or warping.
- Rolling for Storage: If space is limited, roll your stencils and place them in a cylindrical container, like a poster tube, to keep them safe.
- Avoid Heat and Sunlight: Store your stencils in a cool, dry place away from direct sunlight, which can cause materials to degrade over time.
FAQs About Stencil Making
When diving into the world of stencil making, you may encounter a variety of questions along the way. To assist you, we’ve compiled a list of frequently asked questions that cover common concerns and curiosities.
What Materials Can I Use for Making Stencils?
You can use a range of materials, including cardstock, Mylar, acetate, and adhesive-backed vinyl. Each has its own benefits, such as durability and flexibility, so choose based on your project needs.
How Do I Prevent Paint Bleeding Under the Stencil?
Ensure the stencil is firmly adhered to the surface and use a dabbing motion rather than brushing. This helps keep the paint from seeping under the edges.
Can I Reuse My Stencils?
Yes, most stencils can be reused if they are cleaned and stored properly. Materials like Mylar and thicker plastics are especially good for multiple uses.
What’s the Best Way to Apply Paint Over a Stencil?
Using a stencil brush or sponge, apply paint with a light dabbing motion. This technique helps achieve crisp edges and prevents paint bleed.
How Do I Make a Multi-Colored Stencil Design?
Work from the lightest to the darkest colors, allowing each layer to dry before applying the next. Use separate stencils for each color if necessary.
Can I Make Stencils Without a Cutting Machine?
Absolutely! A craft knife and a cutting mat can be used to hand-cut designs from your chosen material.
How Do I Clean and Store My Stencils?
Wash your stencils with warm soapy water after use, pat them dry, and store them flat or rolled in a tube to prevent damage.
By remembering these FAQs, you’ll be ready for your stencil projects. Practice and patience are key.
25 Unique Ideas To Make A Stencil at Home
Discover 25 unique ideas for making stencils at home with this comprehensive guide. Get creative and start crafting today!
1. DIY Stencils With Dollar Tree Chopping Mats
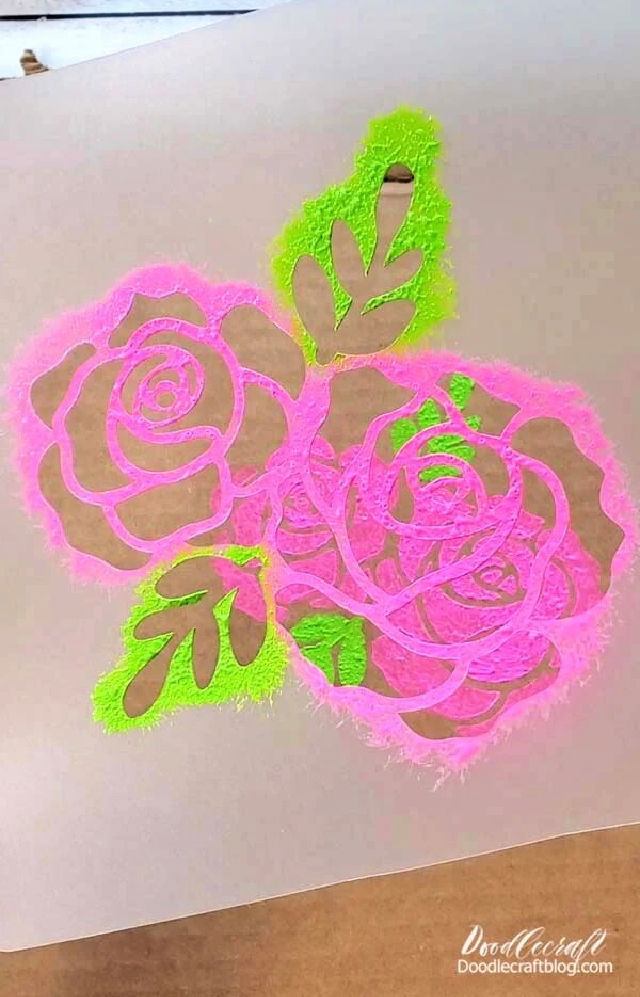
Unlock the crafty potential of everyday items with Doodlecraft‘s guide on making DIY stencils using Dollar Tree chopping mats. This ingenious method is a budget-friendly alternative to expensive stencil materials, perfect for customizing walls, furniture, or fabric.
The tutorial walks you through the simple process, from choosing a design in Cricut Design Space to cutting the stencil with a deep point blade. With practical tips on ensuring clean cuts and effective stencil use, you’ll learn how to produce crisp, reusable stencils. Dabble in paint with Plaid FolkArt products and a sturdy stencil brush for optimal results, transforming mundane materials into stunning, personalized creations.
2. How to Make a Stencil
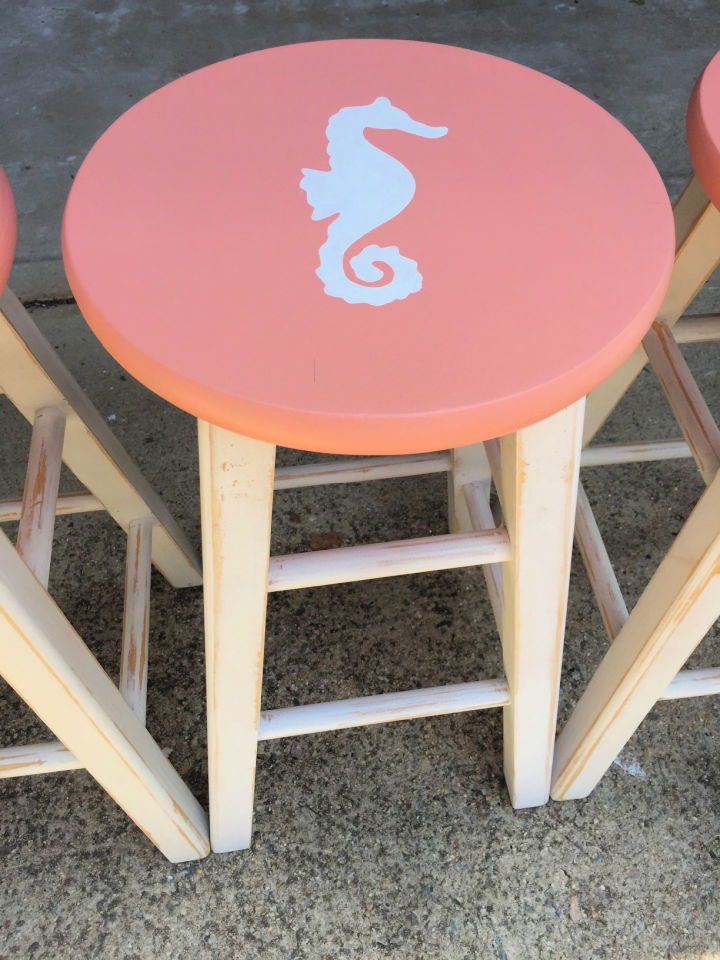
Learn how to craft your own stencils with a simple tutorial from The Craft Crib. Perfect for adding personalized touches to DIY projects, this guide covers everything from selecting materials to the final touches. By using materials like cardstock and an X-ACTO knife, you can make precise and durable stencils. Ideal for painting designs on various surfaces, this method is straightforward and yields professional-looking results. Follow these instructions to elevate your crafting with custom-made stencils, enhancing your home decor or personalizing gifts.
3. Make Your Own Xl Vinyl Stencil
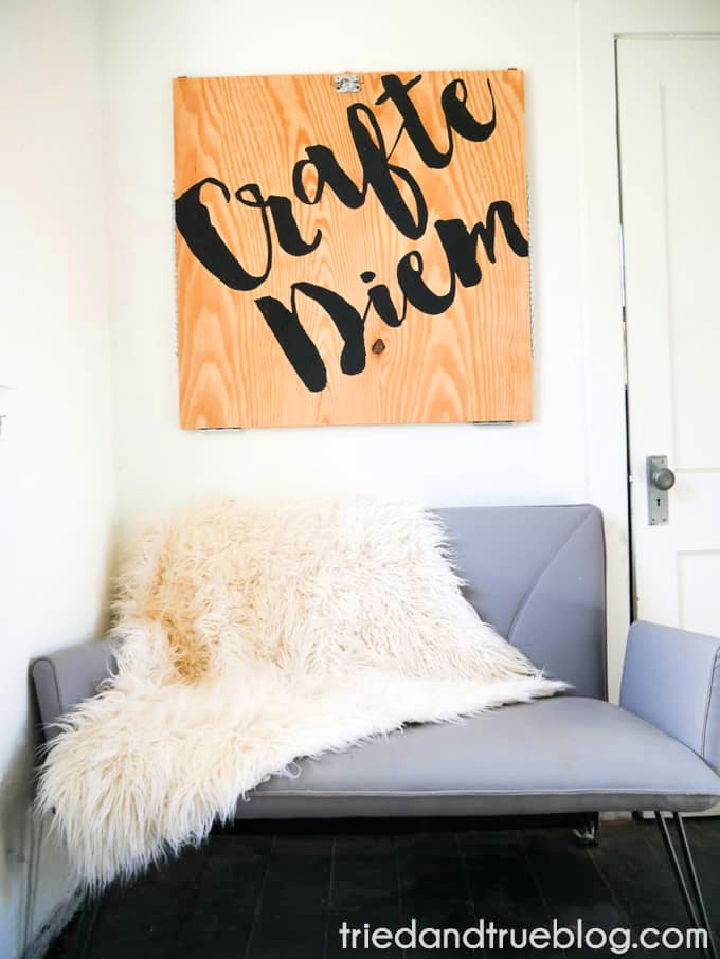
Making an extra-large vinyl stencil can transform a bland space into a personalized artistic statement. Tried & True Creative provides an instructive guide that walks you through each step of making your own “Crafte Diem” vinyl stencil, from design to application. Using a Cricut machine and stencil vinyl, the process becomes approachable, even for those new to crafting. The tutorial details how to prepare your cutting file, cut the design, and apply the stencil with ease, resulting in a strikingly precise painted motif. Get ready to elevate your craft space or any room with this engaging and creative project.
4. DIY Freezer Paper Stencils
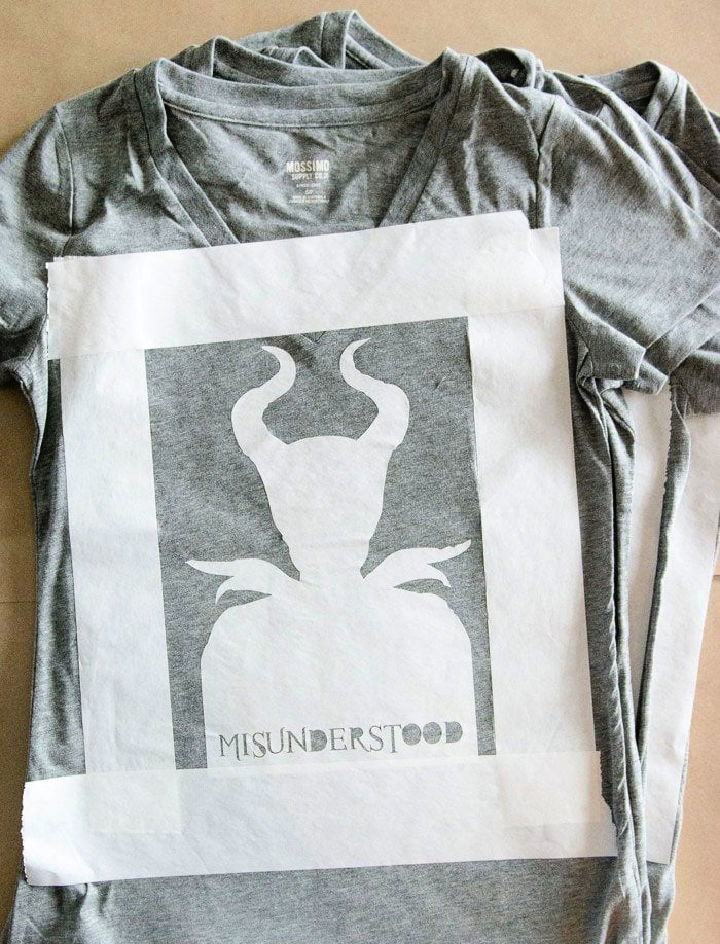
If you’re interested in transferring your unique designs onto fabric items like t-shirts or tote bags, The Polka Dot Chair offers a creative and accessible technique using freezer paper. This method allows for a hand-painted look that adds personal flair to your projects. You’ll need supplies such as freezer paper, fabric paint, and a foam brush.
The instructions are simple: cut out your design, iron the paper onto your fabric, apply the paint, and finish by setting the paint with a dry iron. It’s an engaging and practical way to customize your fabric items with original artwork. The versatility of this technique means you can decorate a variety of items, from clothing to home decor, making it a valuable skill for crafting enthusiasts.
5. Easy DIY Thanksgiving Tea Towel Silhouette Stencil
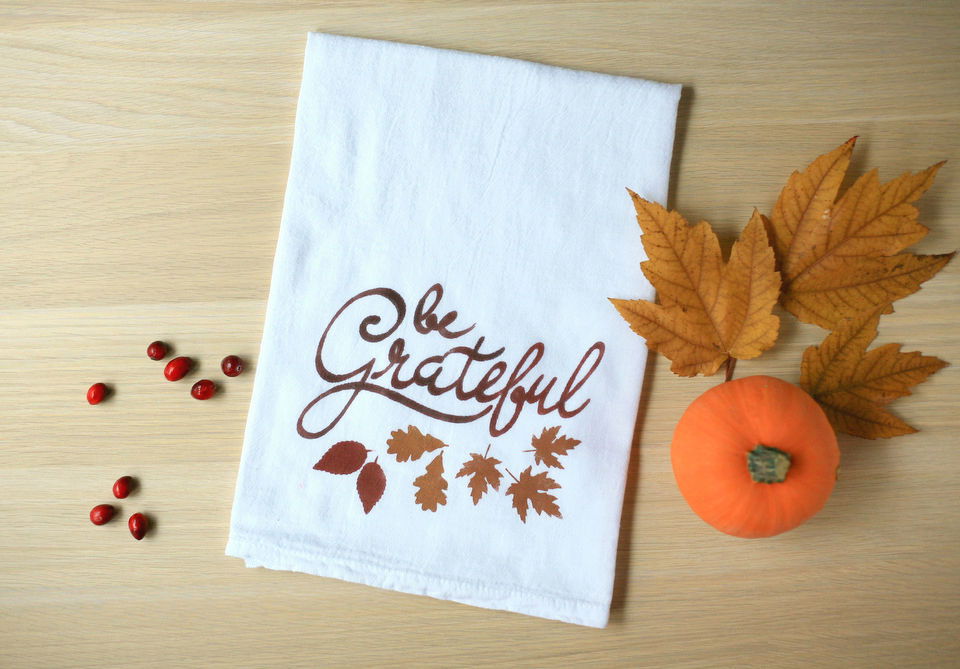
Ready to add a personal touch to your Thanksgiving decorations or make a thoughtful hostess gift? With the DIY Thanksgiving tea towel Silhouette stencil tutorial from Make / Enjoy, you can learn how to use a Silhouette Fabric Ink Starter Kit to craft unique and festive tea towels. This engaging guide provides step-by-step instructions on designing, cutting, and painting your stencil design onto fabric.
It’s perfect for sprucing up your kitchen or giving a handmade gift. Remember to take advantage of special deals using the provided discount code on the Silhouette website after November 20th. Get ready to make your holidays more creative and personal with this enjoyable and straightforward project.
6. How to Make Plastic Stencil for Wood Signs
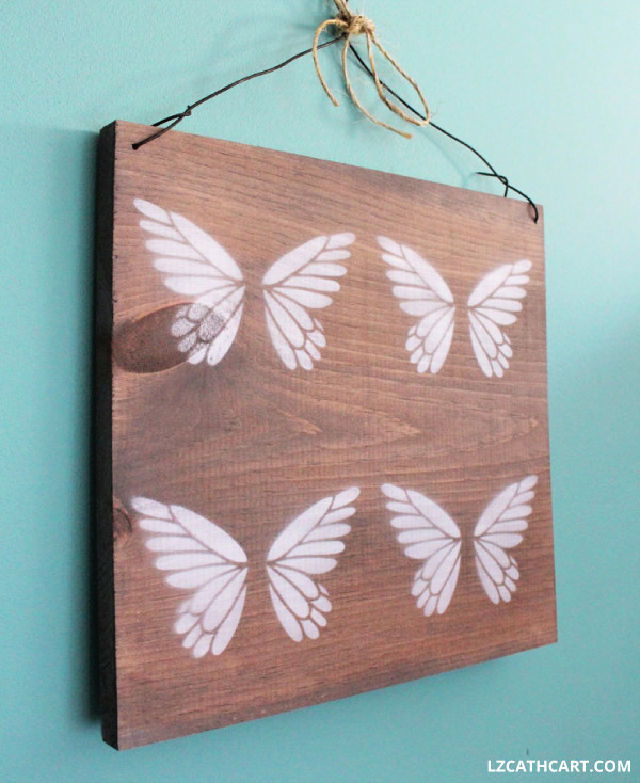
Crafting personalized wood signs just got easier with this comprehensive guide on making your own plastic stencils! LZ Cathcart‘s tutorial paves the way for durable and reusable stencil making, allowing you to transform simple pine boards into stunning pieces of art. Learn to stain, design, and spray paint your way to a custom sign with the aid of a cutting machine and stencil blanks.
The instructions are clear and easy to follow, ensuring that even if you’re new to the world of stenciling, you’ll be able to produce beautiful signs that stand the test of time. Dive into the step-by-step process and let your creativity flourish as you design and execute your next DIY project with confidence.
7. Make Your Own Cookie Stencil

Making custom cookie stencils is a breeze with the Ikonart Custom Stencil Making Kit, and Laura Kelly‘s Inklings provides a fantastic guide to help you through the process. If you enjoy decorating cookies and want each one to have a consistent design, this step-by-step tutorial is for you.
With clear instructions on printing, exposing, rinsing, and post-exposing your stencil, you’ll find it surprisingly simple to make reusable stencils that can add a professional touch to your baked creations. Additionally, you’ll learn tips for applying icing with your stencil for beautiful results. So, roll up your sleeves, preheat your oven, and get ready to elevate your cookie decorating game with your very own custom stencils.
8. How to Make a Graffiti Stencil
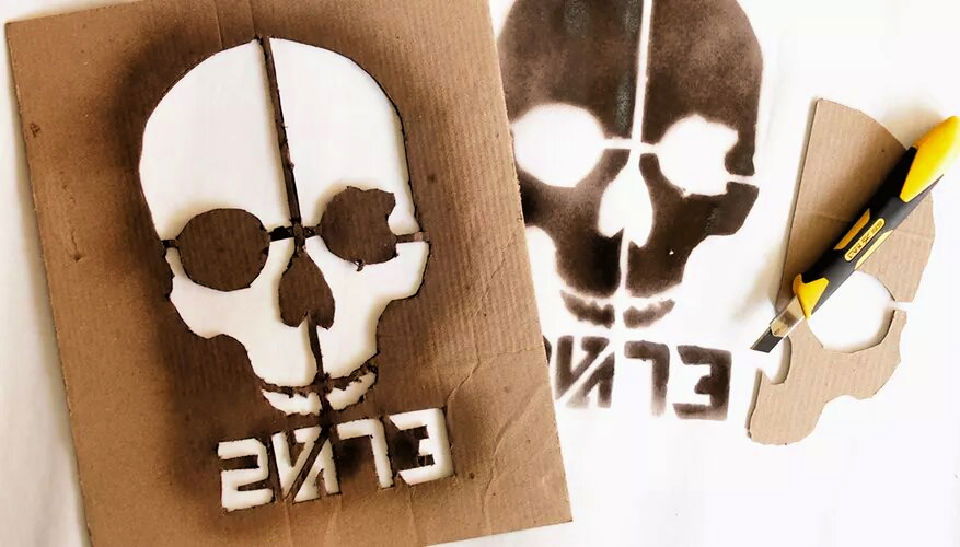
Making a graffiti stencil can turn your artistic vision into reality, quickly and effectively. At Our Pastimes, learn to craft eye-catching images suitable for a range of surfaces from walls to clothing. Gather a craft knife, light cardboard, heavy cardboard or a cutting mat, and a pencil to begin. Start by sketching your design onto the cardboard, making sure to plan your cuts strategically to preserve the integrity of your image.
Carefully cut out your design using the craft knife, ensuring your work surface is protected. With this simple process, you can transform plain objects into personalized works of art. Remember to keep your stencil dry to extend its use. This skill is perfect for adding a touch of personality to your environment or fashion, and it’s a fun way to express yourself through unique designs.
9. DIY Buffalo Plaid Stencil for Planter
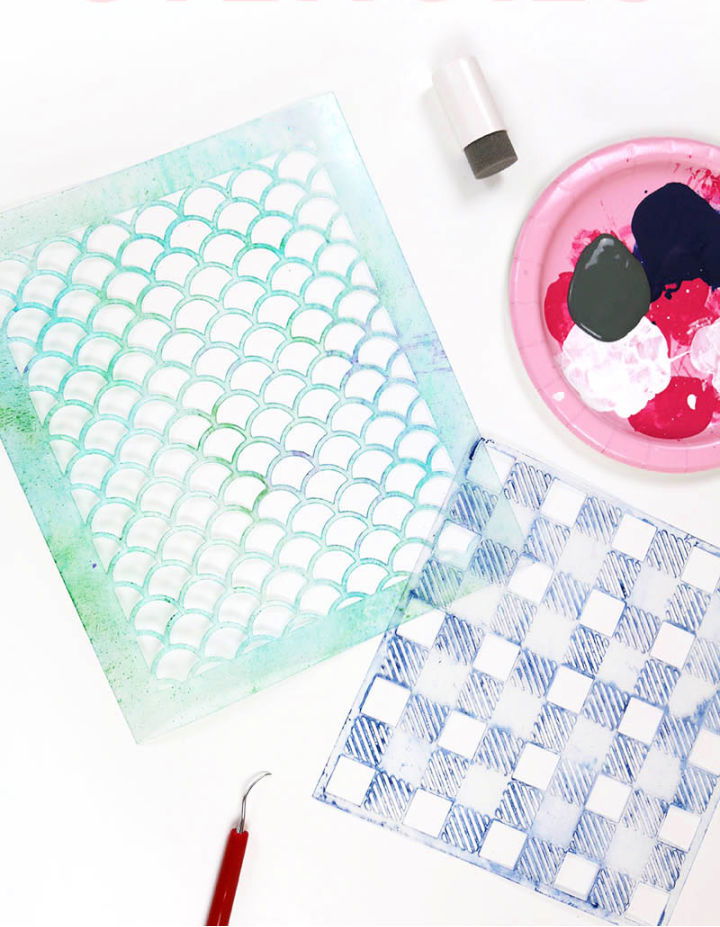
Making reusable stencils is a rewarding DIY project, and with guidance from Persia Lou, you can master the craft seamlessly. If you have a Silhouette or Cricut at home, this tutorial will show you how to transform stencil material into a durable, multi-use tool for all your decorating desires.
Learn the step-by-step process, from preparing your cut file to applying and painting with your stencil. To showcase your new skill, try making a stylish Buffalo Plaid planter—a perfect piece to complement any home decor. Dive into crafting with this instructive and engaging guide, designed to enhance your DIY experience and ensure successful outcomes every time.
10. Make Stencils to Decorate Home
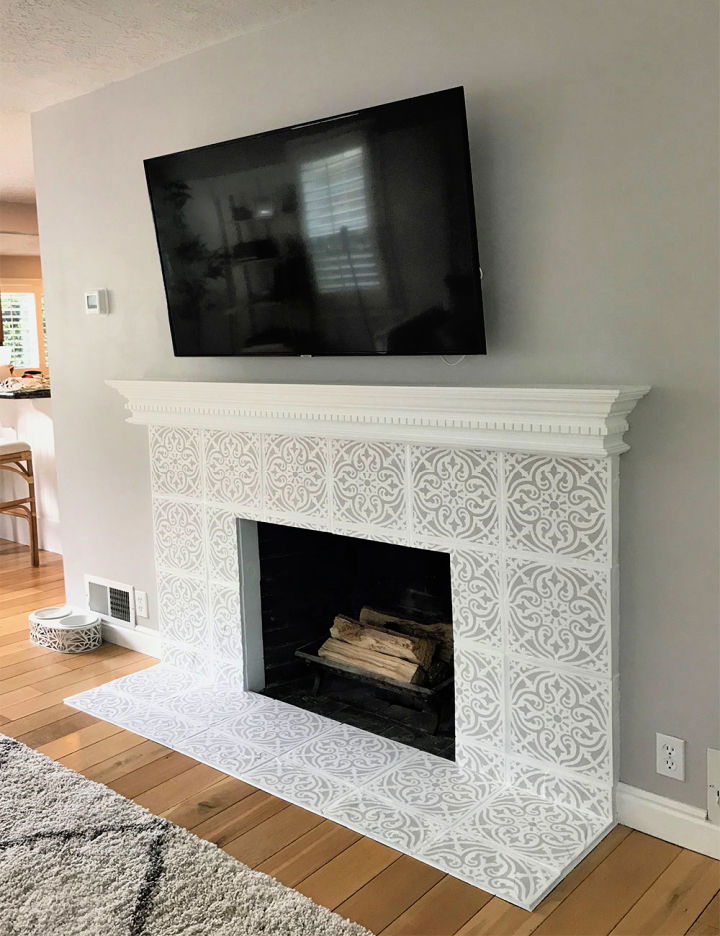
Transform your home with personalized decor using DIY stencils—a unique way to add a touch of charm and creativity to any space. On Cricut, you’ll find an inspiring story of how Chelsea Hentkowski upgraded her home’s aesthetic by designing and applying custom stencils to her fireplace.
Her process, outlined in clear steps, shows how you can achieve professional-looking results with a few simple tools. Learn to select the right materials, cut precise patterns, and apply paint to make stunning designs that reflect your style. Dive into the detailed tutorial to get started on your home improvement projects with confidence and a splash of artistry. Inspiration
DIY Home Decor Ideas:
DIY Board and Batten: A DIY Board and Batten accent wall is a fun and simple DIY project that you can use to give a room some visual attention. Learn how to make the most professional-looking DIY board and batten wall!
DIY wall sconces: Want some unique wall sconces? These 10 creative DIY wall sconces will bring a warm touch of illuminated elegance to your light decor.
Pallet signs and wall art: Check out our pallet wood signs collection for the most useful in unique or custom, handmade pieces for your wall decor.
DIY Large Scale Wall Art: These DIY large wall art ideas are absolutely genius. Check out 25 of the most beautiful and inspiring DIY large wall art ideas from DIY bloggers.
Chalkboard Paint Ideas: Chalkboard paint is a fun trend in home decor that will get the entire family excited. Check out these creative chalkboard paint ideas to make your home or office space fun and artsy.
DIY wall art: Looking for DIY wall art ideas to spruce up your living room, bedroom or kitchen? We’ve got lots of DIY wall art ideas inspired by paintings, mosaics, and silhouettes right here that you can make with your own two hands.
Shiplap wall: Looking to install shiplap in your home? I am so excited to share with you 10 unique and simple shiplap wall ideas you’ll love to DIY.
11. Custom Reusable Stencil With Cricut Maker
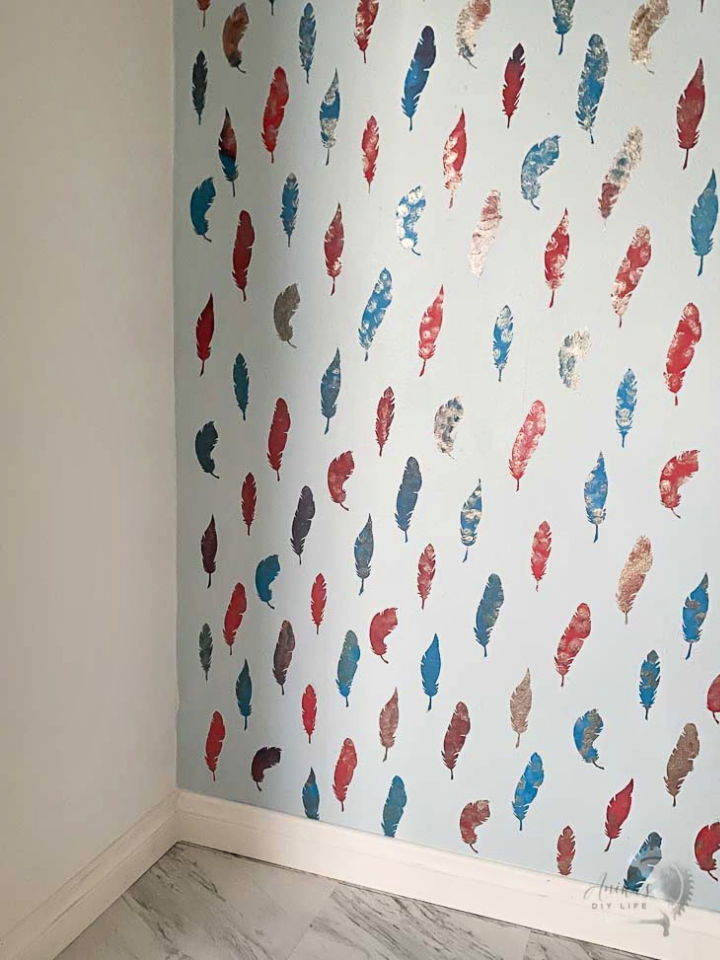
Making reusable stencils with a Cricut Maker is an excellent way to add a personalized touch to your walls, furniture, and other crafts. Anika’s DIY Life provides a comprehensive tutorial that guides you through the process of designing your own stencil in Cricut Design Space, cutting it out, and using it to stencil a surface effectively.
By using Cricut Stencil Vinyl and following the step-by-step instructions, even those new to crafting can achieve professional-looking results. The tutorial emphasizes the use of Cricut Design Space software, selecting suitable designs for stencils, and the importance of properly positioning and weeding your design for optimal results. With helpful tips on paint application and maintaining the stencil’s reusability, the guide ensures a smooth and successful crafting experience.
12. How to Make Stencil With Cricut
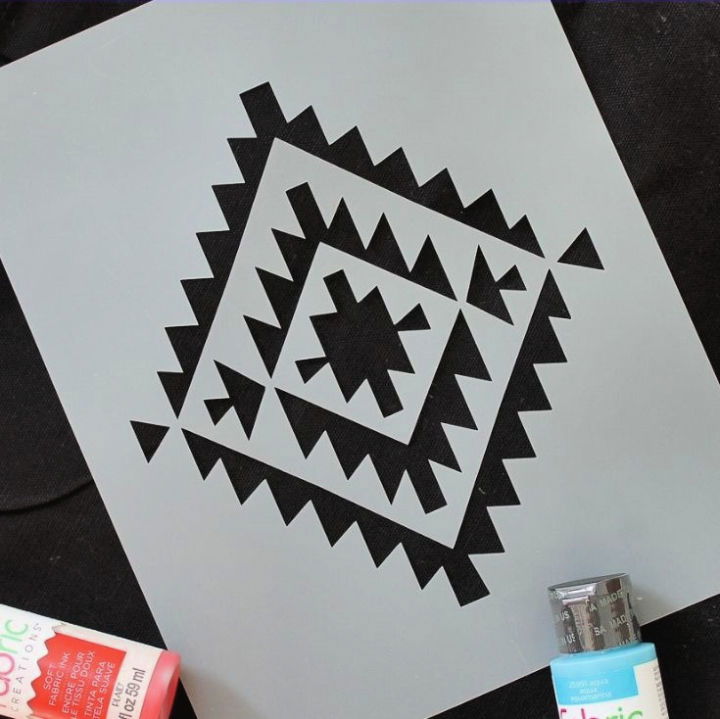
Discover how to make your own stencils with the ease and precision of a Cricut machine on Angie Holden’s The Country Chic Cottage. Crafting enthusiasts can delve into the versatility of stencil making, choosing from materials like vinyl, stencil film, or even paper. With a helpful video tutorial and step-by-step instructions, this guide demystifies the process and offers tips for both one-time use and reusable stencils.
Ideal for personalizing home decor or fabric projects, learn how to make stencils that add a unique touch to your crafts. Whether using cardstock or freezer paper, this comprehensive guide equips you with the know-how for an enjoyable and successful crafting experience.
13. DIY Stencil Without Cutting Machine

If you have a creative project in mind but lack an expensive cutting machine, Pastels and Macarons offers a helpful guide on how to craft your own stencil using basic supplies. Perfect for personalizing furniture, accentuating walls, or adding a touch of uniqueness to any surface, this instructive tutorial empowers you to take control of your artistic endeavors.
With an engaging and straightforward approach, you’ll learn to design stencils with tools you likely have at home. From selecting fonts to precise cutting, this resource is tailored to make the process accessible and enjoyable for all. Get ready to transform the ordinary into something extraordinary with your handmade stencils!
14. Make Your Own Stencil With a Silhouette Cameo
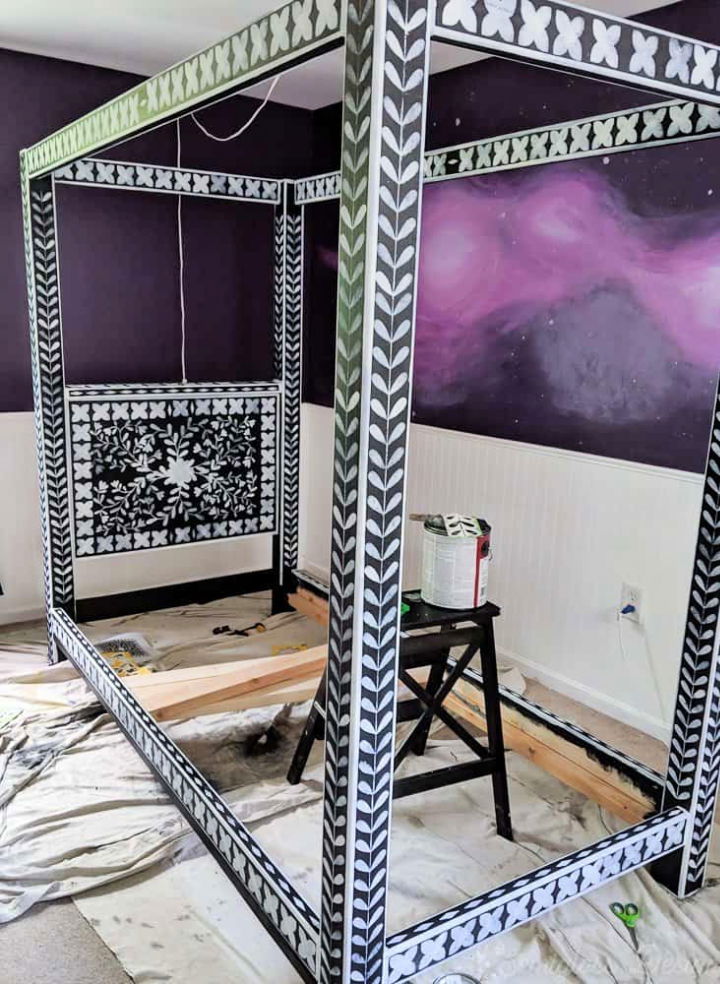
Making your own stencils using a Silhouette Cameo adds a unique touch to any home decor or craft project. Semigloss Design‘s guide provides a step-by-step tutorial that simplifies the process, making it accessible for crafters to achieve custom designs. Discover the best materials for stencil creation, from cardstock to mylar, and learn how to design stencils without isolated pieces for a seamless crafting experience. With tips on the types of paint to use and techniques for preventing paint bleed, you’ll be on your way to producing beautiful, reusable stencils for all your DIY endeavors.
15. How to Make Stencil Like a Pro
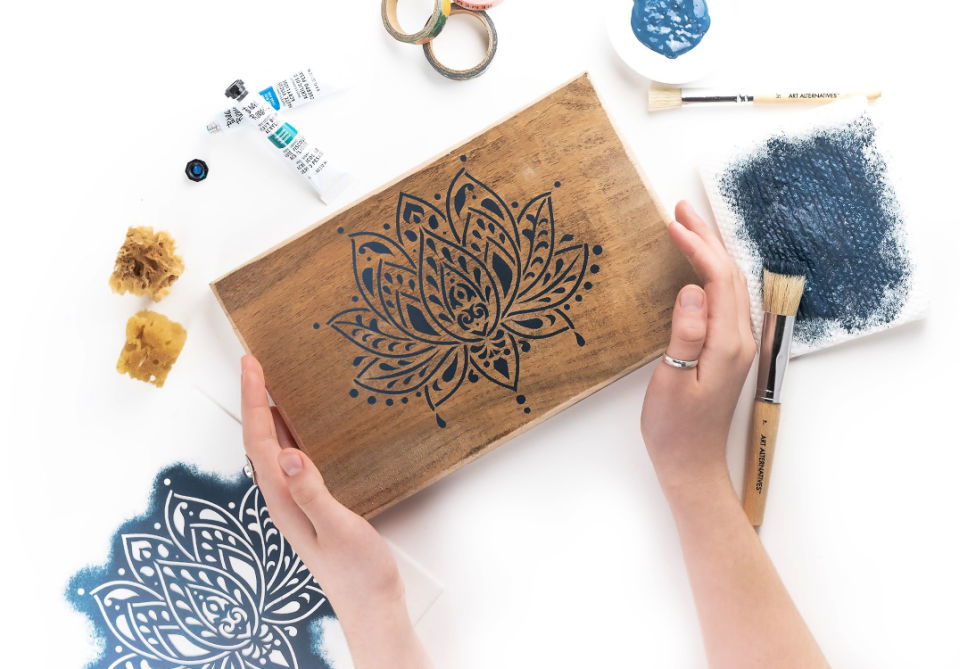
Stenciling is a fantastic way to personalize your space with creative designs. Stencil Revolution offers comprehensive guidance to help you master this craft. Starting with proper surface preparation, selecting the right tools, and understanding the importance of techniques such as offloading paint for clean, crisp edges, our guide ensures a satisfying result.
Tips on stabilizing the stencil and the patience required during application are included to aid in achieving professional finishes. Moreover, advice on caring for your stencils ensures they remain in top condition for future projects. Dive into our beginner-friendly tutorial to enhance your crafting skills and add a handmade touch to your decor.
16. DIY Stencil for Wood Signs
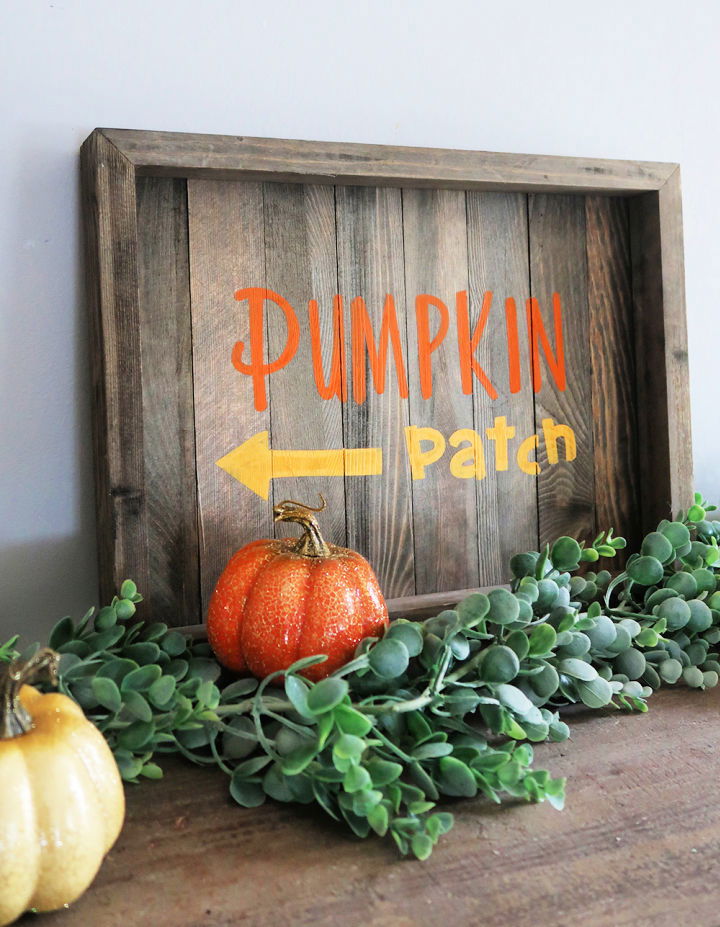
Ready to make crisp, professional-looking wood signs with custom stencils? Weekend Craft offers a comprehensive guide that walks you through the process step-by-step. Learn to choose the right fonts and design a stencil using a Cricut machine. To ensure paint doesn’t bleed, the guide recommends using Mod Podge before painting. With these expert tips and a bit of practice, you’ll be crafting wood signs that could rival any store-bought decor. Perfect for personalizing your space or crafting unique gifts, this tutorial is ideal for anyone eager to enhance their crafting skills.
17. How to Make a Custom Stencil Design
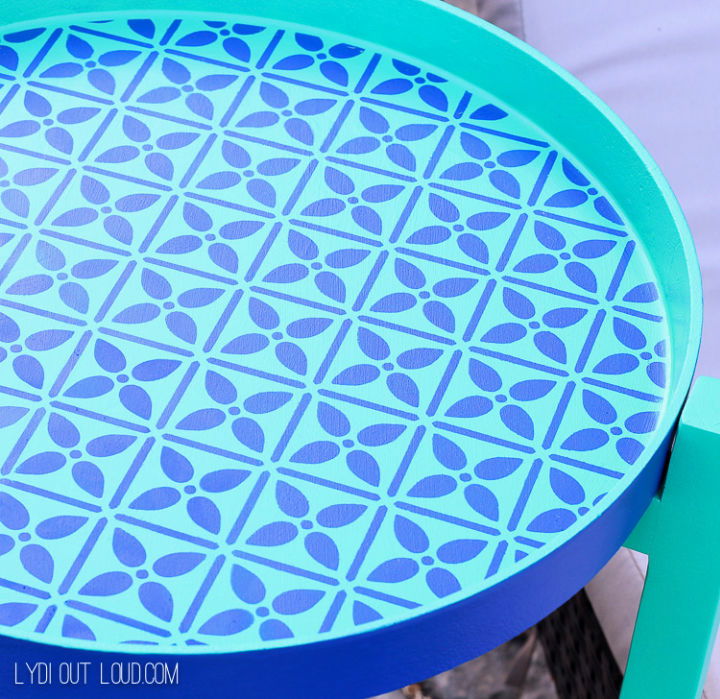
Making a custom stencil design with your Cricut cutting machine is an exciting project that adds a personal touch to your crafts. Lydia from Lydi Out Loud guides you through the simple steps using Cricut Design Space to bring your unique vision to life. From selecting the right materials such as Cricut stencil vinyl and essential tools to constructing your design with basic shapes and welding them together, this tutorial ensures a seamless experience.
Ideal for personalizing home décor or gifts, this method not only equips you to remake the featured Moroccan tile design but also empowers you to craft any stencil pattern you desire. Follow these clear, step-by-step instructions, and elevate your crafting game with a stencil that’s distinctly yours.
18. DIY Freezer Paper Stencil for Shirt

Transform a plain t-shirt into a custom fashion statement with freezer paper stenciling. Pretty Providence provides a step-by-step guide to making a unique stencil design that can be ironed onto your fabric and painted for a personal touch. Perfect for crafting enthusiasts looking to personalize their wardrobe or make thoughtful, handmade gifts, this method is simple and effective.
Using materials like freezer paper, fabric paint, and a few common household items, you can bring your creative visions to life on t-shirts, tote bags, and even wood surfaces. Dive into this DIY project and enjoy the satisfaction of wearing your own artistic creations.
19. Making a Cake and Beverage Stencil
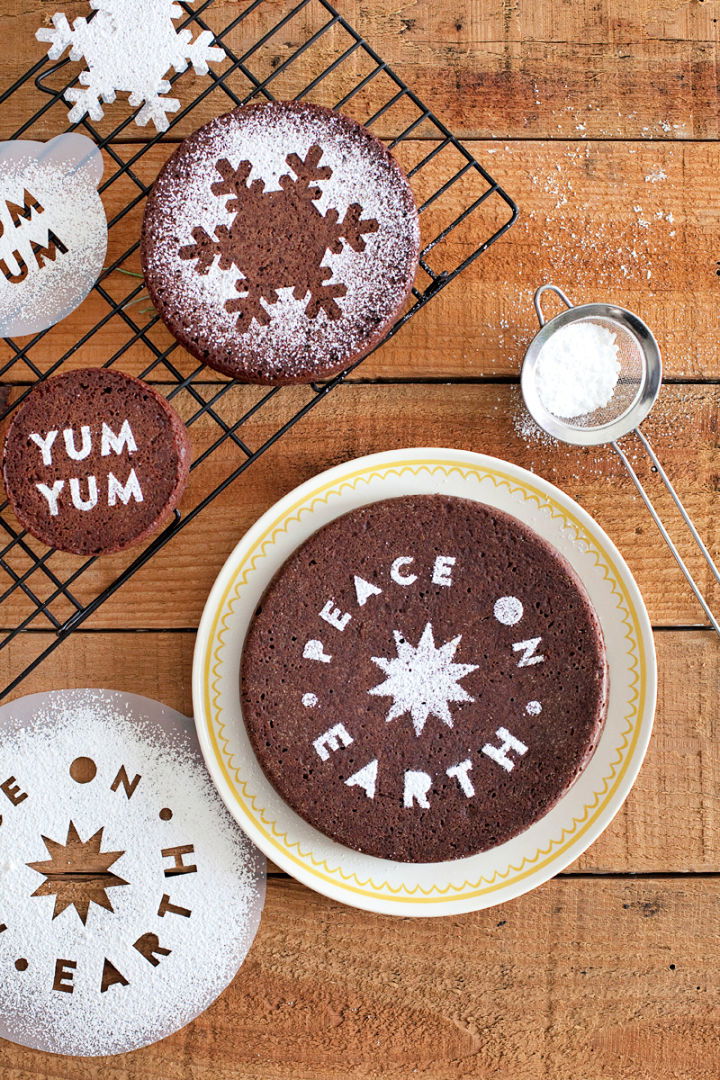
Elevate your dessert presentation with a custom touch using this DIY Cake & Beverage Stencil guide from A Beautiful Mess. Mandi Johnson shares an easy and creative way to personalize your baked goods and drinks. The process is straightforward: select a template or design your own, trace it onto a stencil sheet, and carefully cut out the shapes with a craft blade.
Apply your new stencil to cakes, pies, or foamy beverages for a charming, professional look. With helpful tips and a list of simple supplies, this tutorial is perfect for anyone eager to add a special flair to their treats. Whether hosting a dinner party or just baking for fun, these stencils will impress guests and add that extra wow factor to your culinary creations.
20. DIY Bullet Journal Stencil
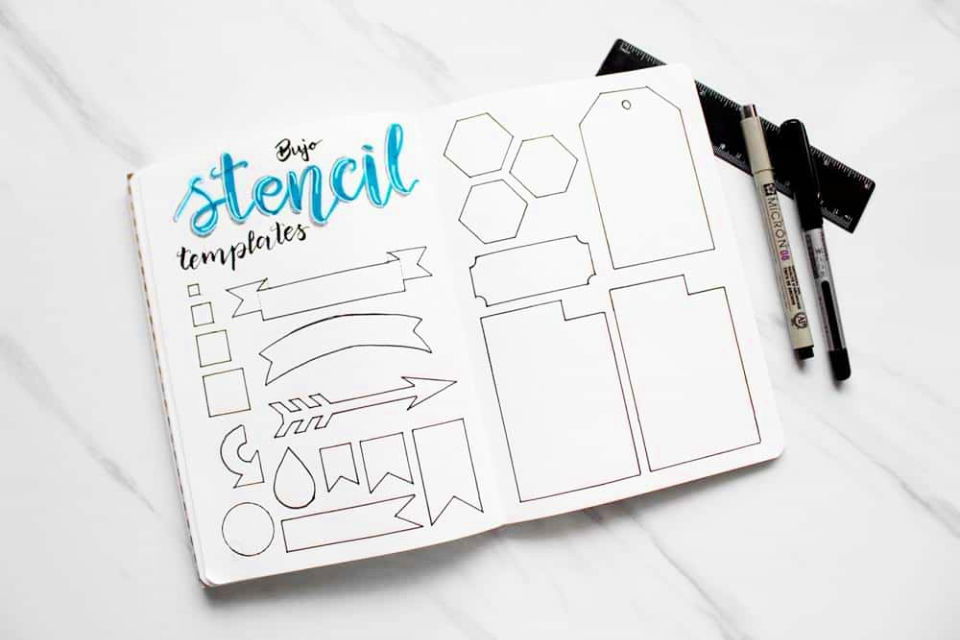
If you love personalizing your bullet journal but find intricate page decorations time-consuming, making your own stencils is a brilliant solution. Diary of a Journal Planner‘s tutorial on DIY Bullet Journal Stencils is perfect for those who want to speed up the process without sacrificing style.
This guide walks you through selecting the best materials, designing, and hand-cutting your stencils. With simple tools like scissors, a craft knife, and laminating sheets, you can transform your ideas into reusable templates for beautiful, consistent spreads. Engage in this crafty endeavor and elevate your journaling experience with custom stencils that reflect your unique creativity.
21. How to Make a Stencil for Painting
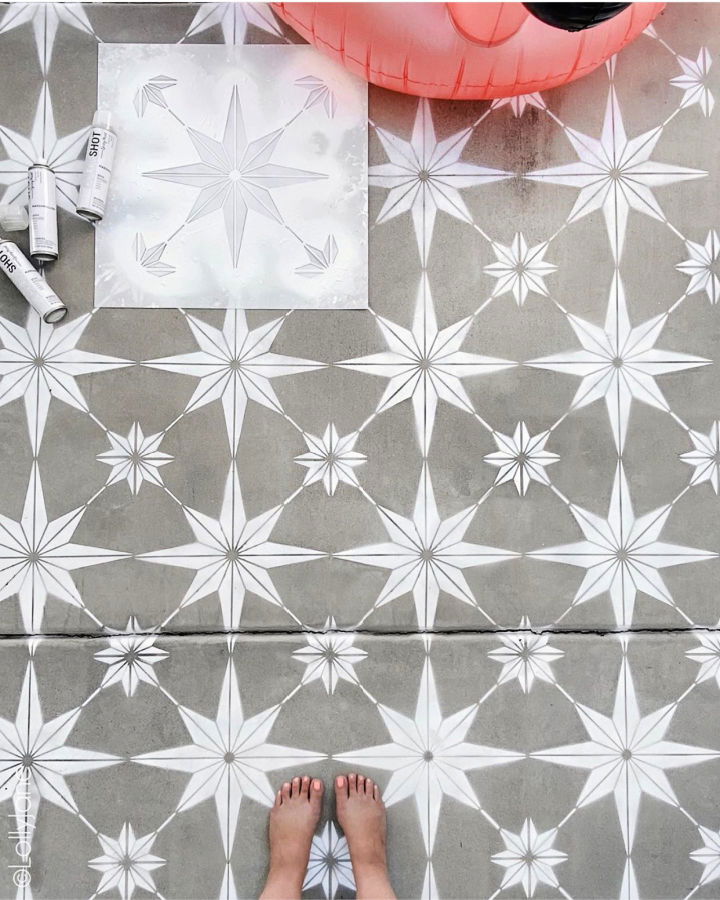
Ready to transform your concrete surfaces with eye-catching designs? Lolly Jane offers a straightforward guide on stenciling concrete using spray paint. With a focus on selecting high-quality stencils and paint, the process is made simple and efficient. All you need are three basic supplies: spray paint, a stencil, and repositionable adhesive.
The tutorial walks you through each step, from surface preparation to sealing the finished design, ensuring a professional-looking result. It’s an engaging way to personalize your outdoor or indoor space, and the instructions are easy to follow, making your project enjoyable and successful. If you’re eager to get started on your stenciling adventure, visit Lolly Jane for all the tips and tricks you’ll need.
22. Make Your Own Vinyl Stencil
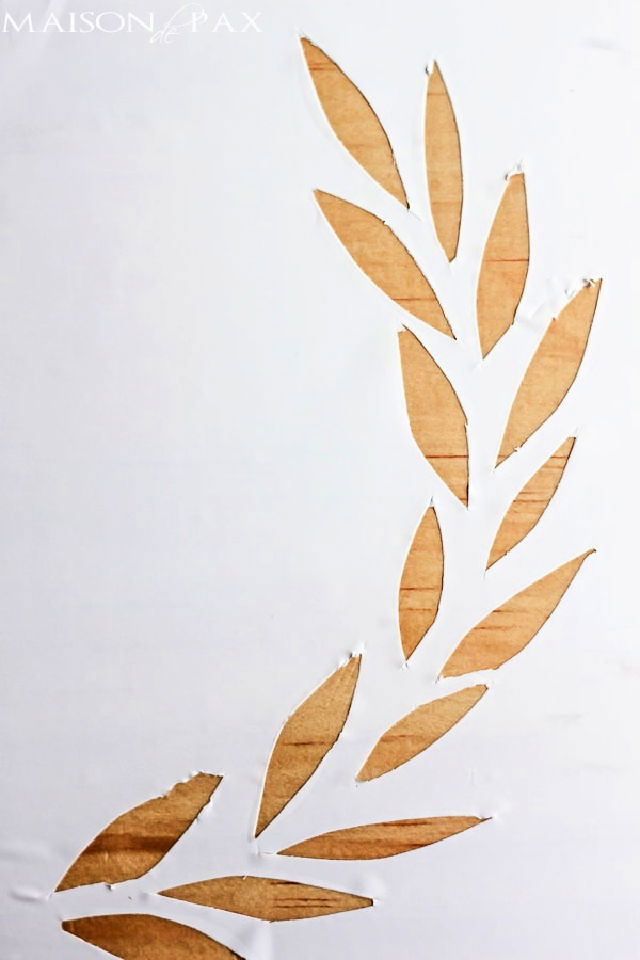
Making a custom vinyl stencil doesn’t require expensive equipment; a simple shelf liner will do the trick! Maison de Pax shares an ingenious method that is both budget-friendly and easy to follow. Start by drawing or printing your desired design. Trace the design with firm pressure using a pen to leave an impression on the shelf paper.
Then, with a utility knife and a safe cutting surface, carefully cut out your stencil. Peel off the back and apply the stencil to your project. This straightforward technique enables quick and personalized crafting without the need for intricate tools, making it perfect for unique home decor or special gifts. Follow these steps to add a personal touch to your crafting repertoire with minimal effort and time investment.
23. Homemade Chalkboard Stencil

Making a personalized stencil has never been easier, thanks to the Cricut® Explore Air™ 2, Cobalt machine, available at JOANN. Ideal for customizing chalkboards, this versatile machine cuts through a variety of materials, from vinyl to fabric. The informative guide on My 100 Year Old Home offers a step-by-step process on how to design and produce a reusable stencil with a Cricut machine.
You’ll learn how to measure your space, choose the right font, and work with stencil blanks for precision cuts. With helpful tips on securing the stencil and using chalk markers for a clean, crisp finish, even those new to crafting will feel empowered to tackle this project. Dive into the realm of DIY with ease and bring your creative visions to life.
24. Making Your Own Reusable Craft Stencils
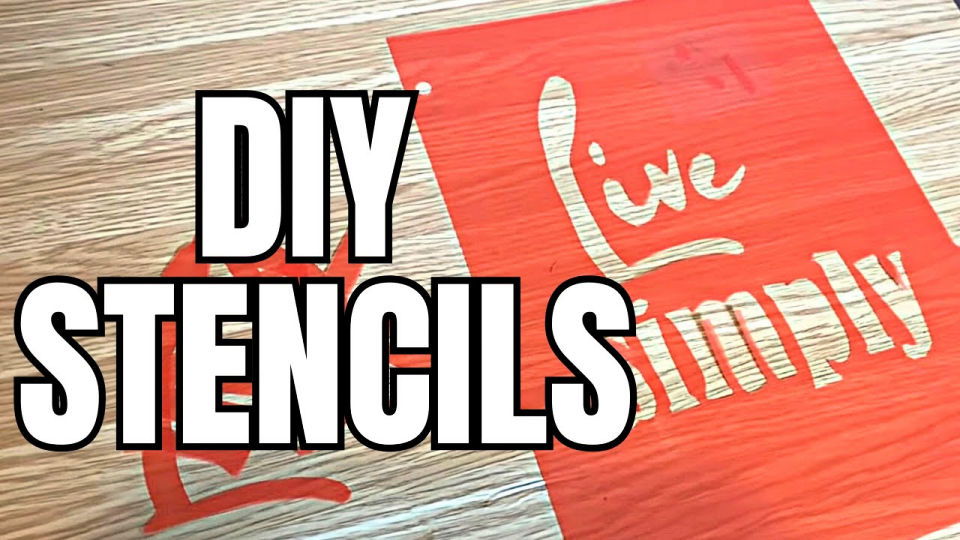
Crafting enthusiasts often seek innovative and cost-effective ways to enhance their projects, and making custom stencils is an excellent method to personalize your work. Our Upcycled Life’s YouTube video tutorial offers a straightforward and budget-friendly approach to making your own reusable stencils, without the need for expensive tools like a Cricut machine.
In this video, viewers learn how to transform readily available materials, such as index dividers from the dollar store, into unique stencils perfect for decorating wooden signs or other craft items. The tutorial is clear, easy to follow, and filled with practical tips to help crafters of all levels achieve great results. Tune in to learn how to add a personal touch to your home décor and crafts with custom stencils.
25. Easy to Make Stencils for Craft
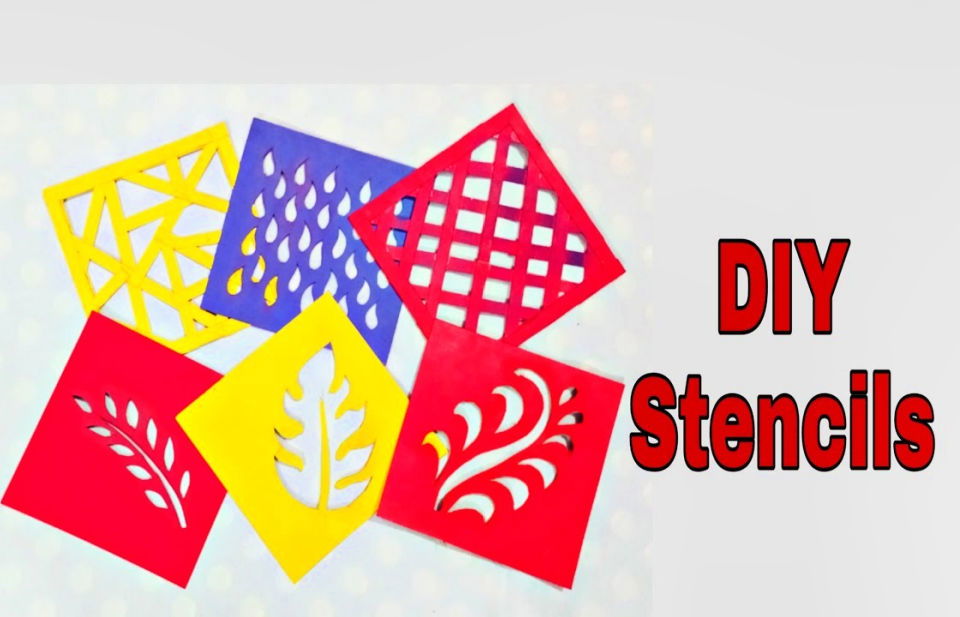
Unlock the fun of crafting at home with DIY stencils! If crafting is your passion and you’re eager to add a personal touch to your scrapbooks, greeting cards, or mixed-media projects, learning to make your own stencils is a fantastic skill to master. YouTube offers a wealth of tutorials, like the one from Embellishment Art n Craft, which guides you through making six unique stencil designs.
These handmade tools are not only cost-effective but also customizable to suit any project. By following the easy steps demonstrated, you’ll be cutting and designing your own stencils in no time. So grab your cutter and some paper, and let your creativity flourish with your very own collection of stencils.
Conclusion:
In conclusion, crafting your unique stencil at home is not just a rewarding artistic endeavor, but also a fun way to personalize your space and items. With our comprehensive guide, from selecting the right materials to mastering advanced stencil techniques, you are well-equipped to bring your creative ideas to life. Remember, practice and patience are key to achieving perfect, eye-catching results. So, grab your tools, and let’s transform those unique ideas into stunning stencil creations at home!


